
 Europe | €
 Deutschland | €
 Italy | €
 Polska | zł


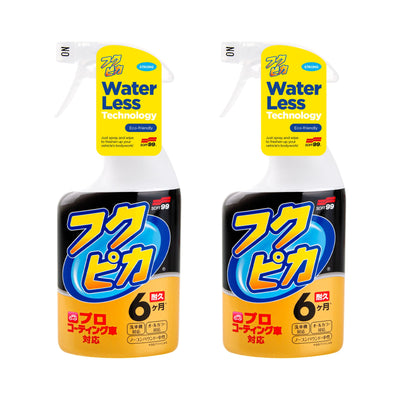
Megami Headlight Refresh
headlight rejuvenating and coating agent
| Capacity: 50 ml (cleaner), 10 ml (coating) |
| Durability: up to 6 months |
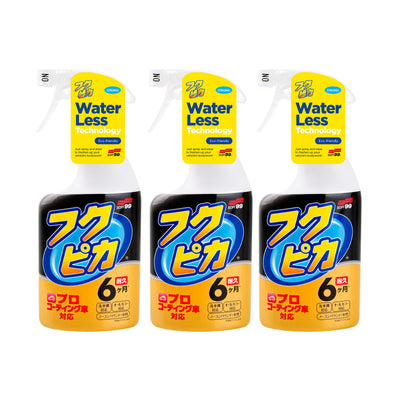
| Includes: 1x cleaner bottle, 1x coating bottle, 2x cleaning applicators, 2x coating applicators, 2x fabric cloths, 1x protective plastic glove |
Megami Headlight Refresh – clean and protected headlights, free from yellowing or haze
Restoring plastic headlights has never been easier! Megami Headlight Refresh is a Japanese solution for dull, yellowed headlights: inside the box you’ll find a complete kit containing a cleaning agent, a coating, and all necessary accessories. The result? Up to 6 months of full protection – not only against water and dirt, but also against renewed yellowing and hazing!

How does Megami Headlight Refresh work?
The product uses a dual formula that combines abrasive components with chemical cleaning agents. During the two-step process, you can easily remove unappealing yellow or matte fogging from your headlights. The coating applied at the end (the small bottle) reacts with moisture in the air and hardens, forming a durable glass-based protective layer. Additionally, the hydrophobic layer slows the development of discolouration caused by water and dirt, protecting the headlights for around 6 months, according to the results of our internal tests.

Specification
| Capacity: | 50 ml (cleaner), 10 ml (coating) |
| Durability: | up to 6 months |
| Includes: | 1x cleaner bottle, 1x coating bottle, 2x cleaning applicators, 2x coating applicators, 2x fabric cloths, 1x protective plastic glove |
| Product code: | 03135 |
Directions for use
| Tip | |
| Avoid working in hot weather, rain, or at temperatures below 10°C. Avoid application in windy conditions. The coating (“2”) reacts with moisture in the air, so after applying it to the applicator, close the bottle immediately. |
| 1 | Thoroughly wash, dry the headlights, and remove any previously applied coatings or their residues. |
| 2 | Put on the protective glove included in the set. |
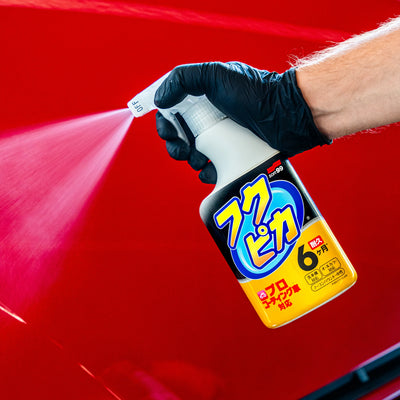
| 3 | Shake the cleaner bottle (“1”) vigorously, apply a moderate amount of cleaner to the black side of the blue sponge, then polish the lens until all dullness and discoloration are removed. |
| 4 | Moisten one of the included cloths with water, wring it out thoroughly, then use it to remove residue from the cleaner. |
| 5 | After drying, check whether the lens requires further cleaning. If necessary, repeat steps 3 and 4. |
| 6 | Shake the coating bottle (“2”) and soak the white part of the yellow sponge with the product. |
| 7 | Apply the coating to the lens in one direction only and ensure the sponge is properly saturated to evenly cover the surface. |
| 8 | Immediately after application, the protective coating becomes sticky. For 24 hours after application, do not allow the surface to come into contact with water and do not touch it. Full curing occurs after approximately 3–4 days. |
| Tip | |
| If you notice imperfections in the applied layer, within 3 days of application you can remove them with Silicone Off. After that time, removal will only be possible with abrasive products. |